Online Help for KeyNavigator®
These resources have moved to KeyNavigator.
For enhanced security and ease of use, we’ve moved Online Help into KeyNavigator. Online Help is still packed with the same valuable, comprehensive guides and support materials you expect — all conveniently accessible when and where you need them.
Visit Online Help
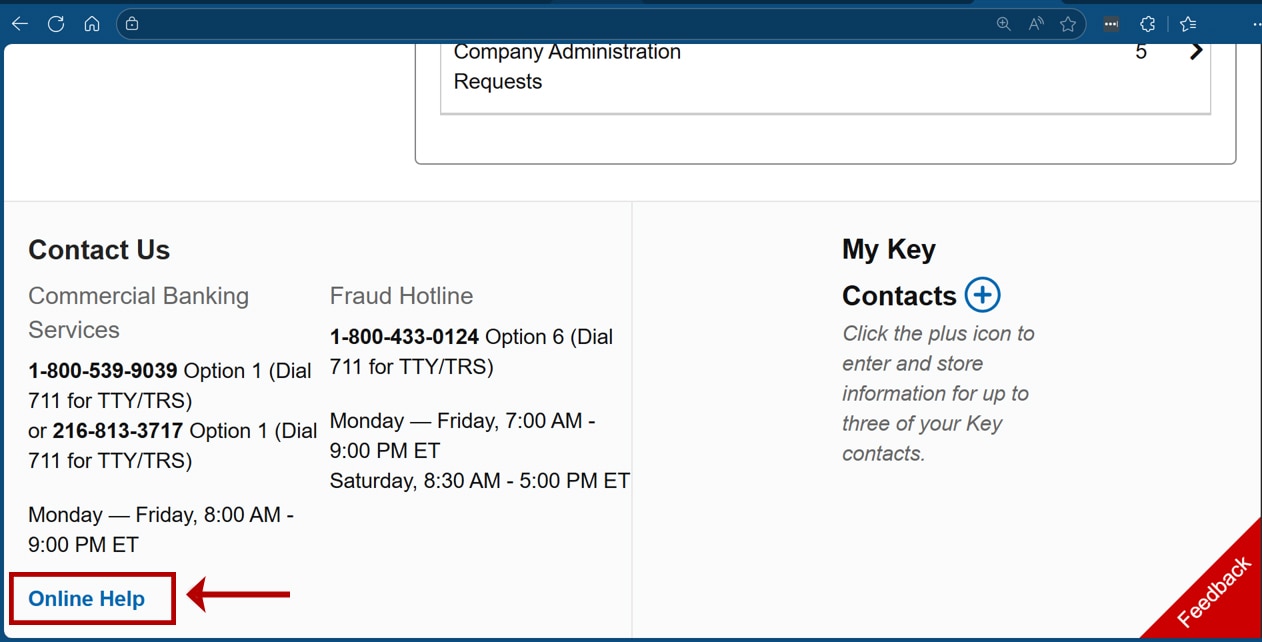
Sign on to Key Navigator. Then, from the bottom-left corner of the screen, select Online Help.
Sign on to KeyNavigator. Then, from the bottom-left corner of the screen, select Online Help.