


In today’s complex financial landscape, middle market and larger companies need a bank that understands their business and their industry. Key’s deep market expertise and relationship-led approach allow us to recognize opportunities and deliver strategic financial solutions that align with our clients’ goals.
Why Clients Choose Key
Over its 200-year history, Key has become one of the nation's largest bank-based financial service companies.

Capital and Lending Access
Flexible financing and
capital markets expertise
to power growth and investment.

Payments and Technology
Streamlined platforms and
real-time guidance to help
mitigate risk and manage liquidity.

Key Wealth Management
Trusted expertise, strategies
and insights to grow,
manage, and preserve wealth.
Our Services
Whether it’s access to capital, industry insights or guidance to drive growth, Key provides resources businesses rely on to compete in a changing economy. See how the strength of a top financial institution and hands-on service of a leading regional bank can help you take your business to the next level.


Empowering businesses that shape the future.
We’re proud to work with commercial clients, businesses and organizations whose innovative ideas and execution have a lasting impact on people’s lives.
View Transcript
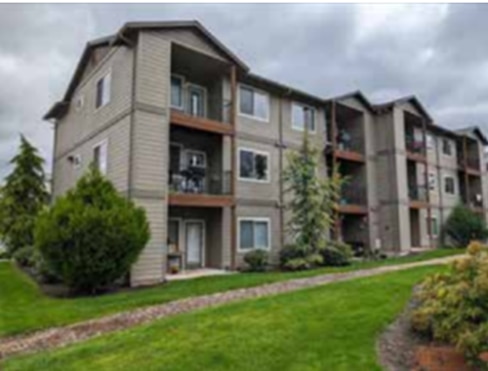
Stephanice Washington: Being homeless, not knowing when you got to go, taking your income, spending the whole income up to have a room for a night or two or three. Then having to eat out. Wasn't able to cook and stuff. Having to eat out. You know, that was a lot. I lost everything. I lost everything but the clothes I had on my back.
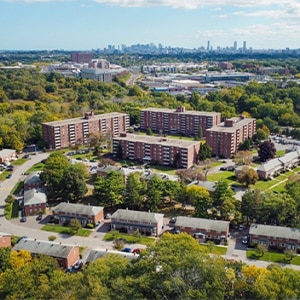
Robert L. Likes: KeyBank has an unwavering, deep commitment to affordable housing. Our mission and our objectives are to be a national leader in affordable housing, to help the bank always achieve an outstanding CRA rating. To be a major contributor to our community benefits plan and to help our clients and communities thrive.
Erica Haize: We need more affordable housing in this community. So, people are struggling with that a lot. We saw the need of helping people be part of a great community.
Kevin Loos: NRP made an initiative into housing and health care, and so we've created a few projects across the nation, partnering with hospitals to provide housing and health care. You’re next to the healthcare community, next to primary care doctors, next to emergency room help, and really it becomes a more of a wraparound type of service, being right next to the campus.
Robert L. Likes: It's adjacent to a hospital to help with healthy initiatives. It also has community space within the Affordable Housing project that provides job counseling, financial literacy training, digital training, all for the betterment of the tenants and the surrounding community, to help really uplift lives.
Stephanice Washington: The day I got the phone call that I could come in and pick up my keys, was the best thing that ever happened for me.
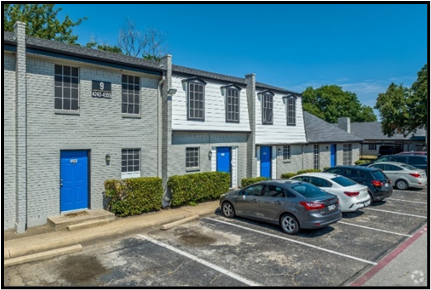
Erica Haize: This was like a steppingstone for them. Some of them, like I said, were homeless. They start living here, their lives change. Their family can see that their life is changing. And to come in a building like this, and having something so nice and brand new for the first time, it's life changing.
Stephanice Washington: Before I came to Via Sana, my whole check went on my light, my gas, my rent. Since I've been at Via Sana, I'm able to save up, so I'm able to go to Walmart and buy me a month's worth of food from my income now.
Erica Haize: I hope we can partner more so we can keep making a change in the community.
Robert Likes: Affordable Housing changes lives. There are so many positive, healthy outcomes and economic upward mobility, when you have a permanent residence that is safe, decent, clean, affordable, that is your home.
Stephanice Washington: My new apartment is my serenity, my peace, and my home.
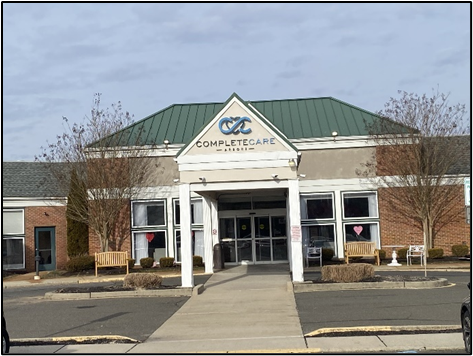
Recent Deals
Key brings extensive experience in closing deals across industries to help clients strengthen their market position and achieve greater success.

May 2025
christianacare-crozer-healths
![]()
has agreed to acquire

ASCs and Outpatient Centers in Pennsylvania
assets owned by
Buy-Side Advisor


Our Expertise
Explore the latest information and expertise from our team of industry specialists covering solutions for capital growth, business expansion, and financial strategies.


Banking products and services are offered by KeyBank National Association. All credit products are subject to collateral and/or credit approval, terms, conditions, and availability and subject to change.
Key Wealth, Key Private Bank, Key Family Wealth, KeyBank Institutional Advisors and Key Private Client are marketing names for KeyBank National Association (KeyBank) and certain affiliates, such as Key Investment Services LLC (KIS) and KeyCorp Insurance Agency USA Inc. (KIA).
